The Importance of Keeping Your Sub-Zero at Peak Performance

Regular Maintenance for Sub-Zero Refrigerators

Sub-Zero refrigerators are renowned for their durability and advanced cooling technology. However, to ensure they continue to operate at peak performance, regular maintenance is crucial. This guide will walk you through the essential maintenance steps to keep your Sub-Zero refrigerator running efficiently for years to come.

Sub-Zero IC-30 Condenser cleaning

Cleaning Condenser Coils and Fins

Why Clean Coils Matter

The condenser coils dissipate heat as refrigerant passes through them. Over time, dust and pet hair can accumulate on the coils, reducing their efficiency and causing your refrigerator to work harder, which can lead to increased energy costs and potential repairs.

Step-by-Step Cleaning Guide

  • Turn off the refrigerator: Ensure your safety by turning off the power before starting the cleaning process.
  • Locate the coils: You'll find the coils behind a grille at the bottom or top of the refrigerator.
  • Use a specialized cleaning foam: We recommend using a foam cleaner designed for condenser coils. This foam can penetrate deep into the coils without the need for strong brushing or scraping that could damage the fins.
  • Apply the foam: Spray the cleaner onto the coils and fins. Allow it to sit and penetrate the buildup.
  • Rinse (if directed by the cleaner): Some foam cleaners may require a rinse after application. Follow the product's instructions carefully.
  • Brush and vacuum: Use a coil brush to gently remove dust and debris, then vacuum the area to clean up any loose particles.
  • Inspect coils regularly: Perform this maintenance every 6 months to prevent buildup and maintain efficiency.

By following these updated steps, you can effectively clean your Sub Zero's condenser coils without risking damage to the appliance. Regular maintenance, carried out with the appropriate tools and products, will keep your refrigerator running smoothly and can extend its lifespan.
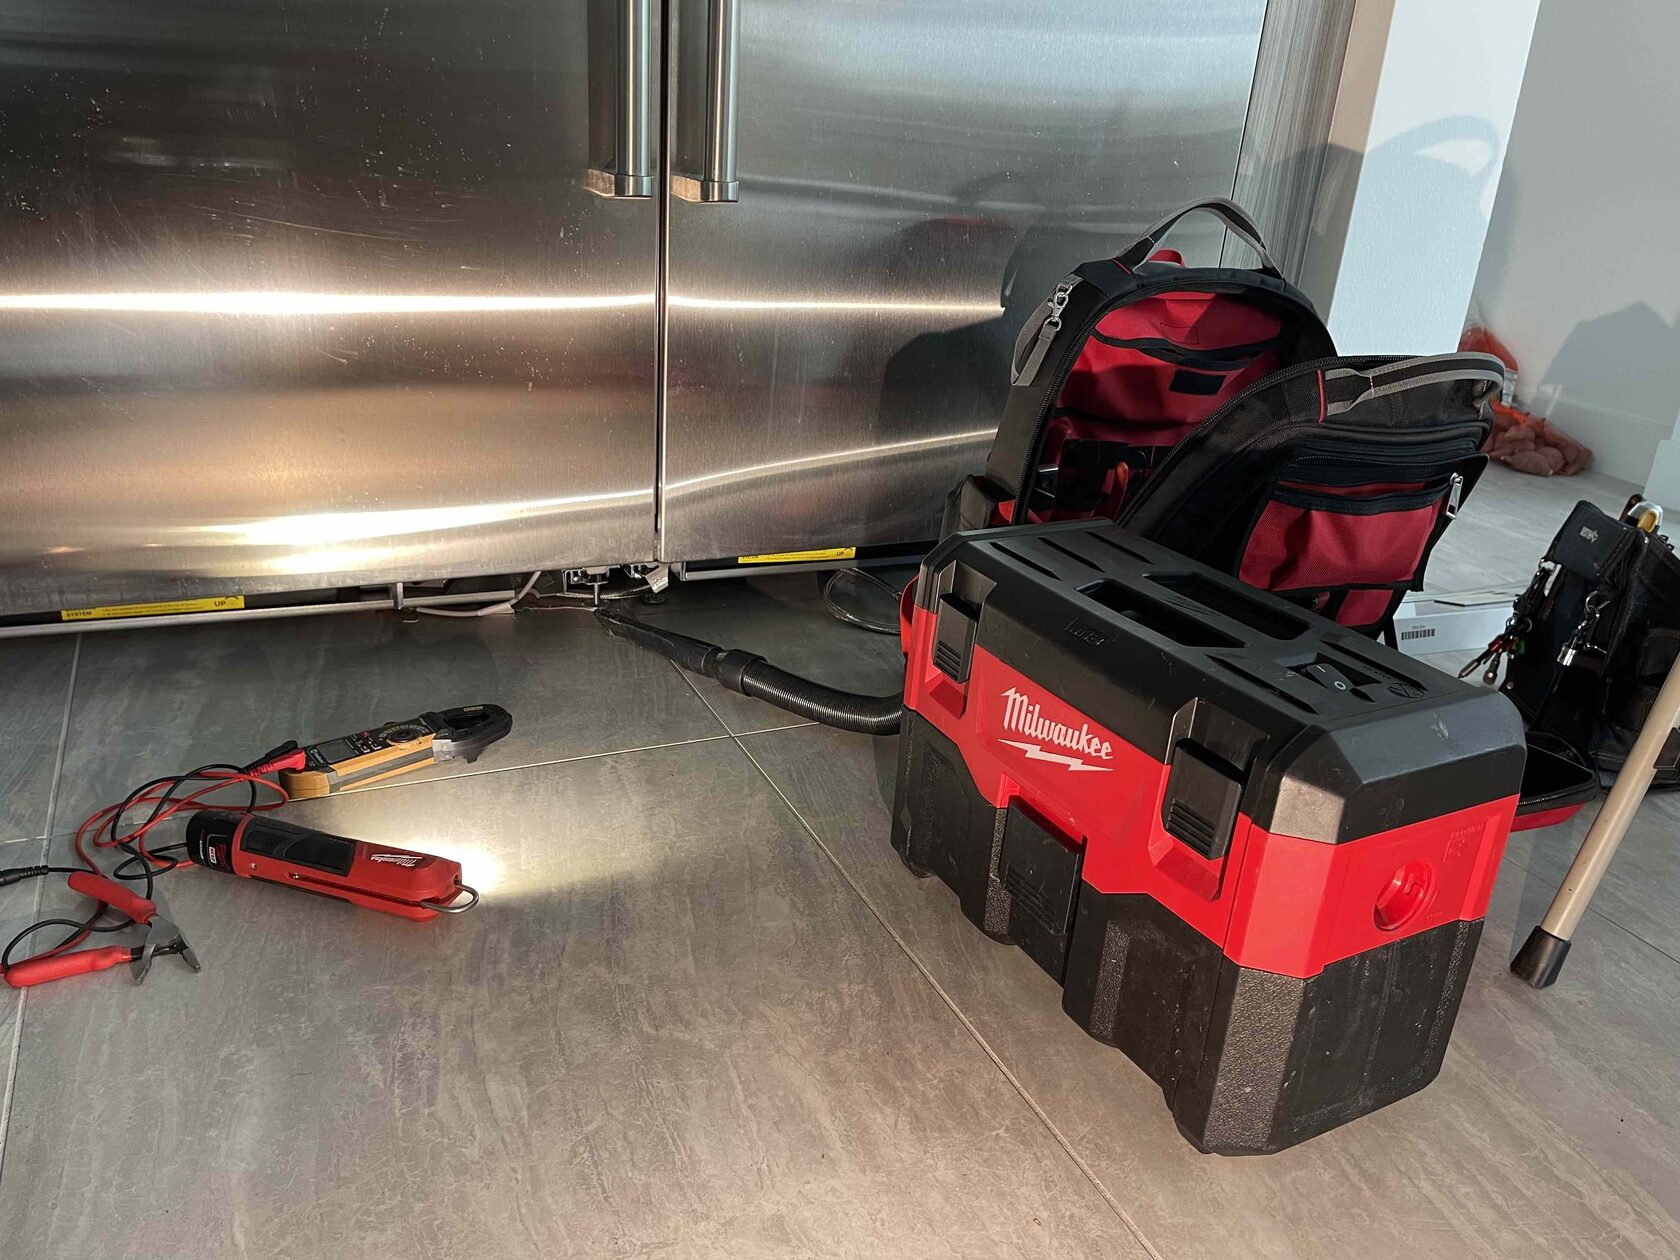
It's dirty condenser coils.
Spray the cleaner onto the coils and fins.
Use a coil brush to gently remove dust and debris.
Checking and Replacing the Sub-Zero Water Filter

The Role of the Water Filter

A clean water filter is essential for removing impurities from your refrigerator's water supply, ensuring clean ice and drinking water.

Changing the Filter

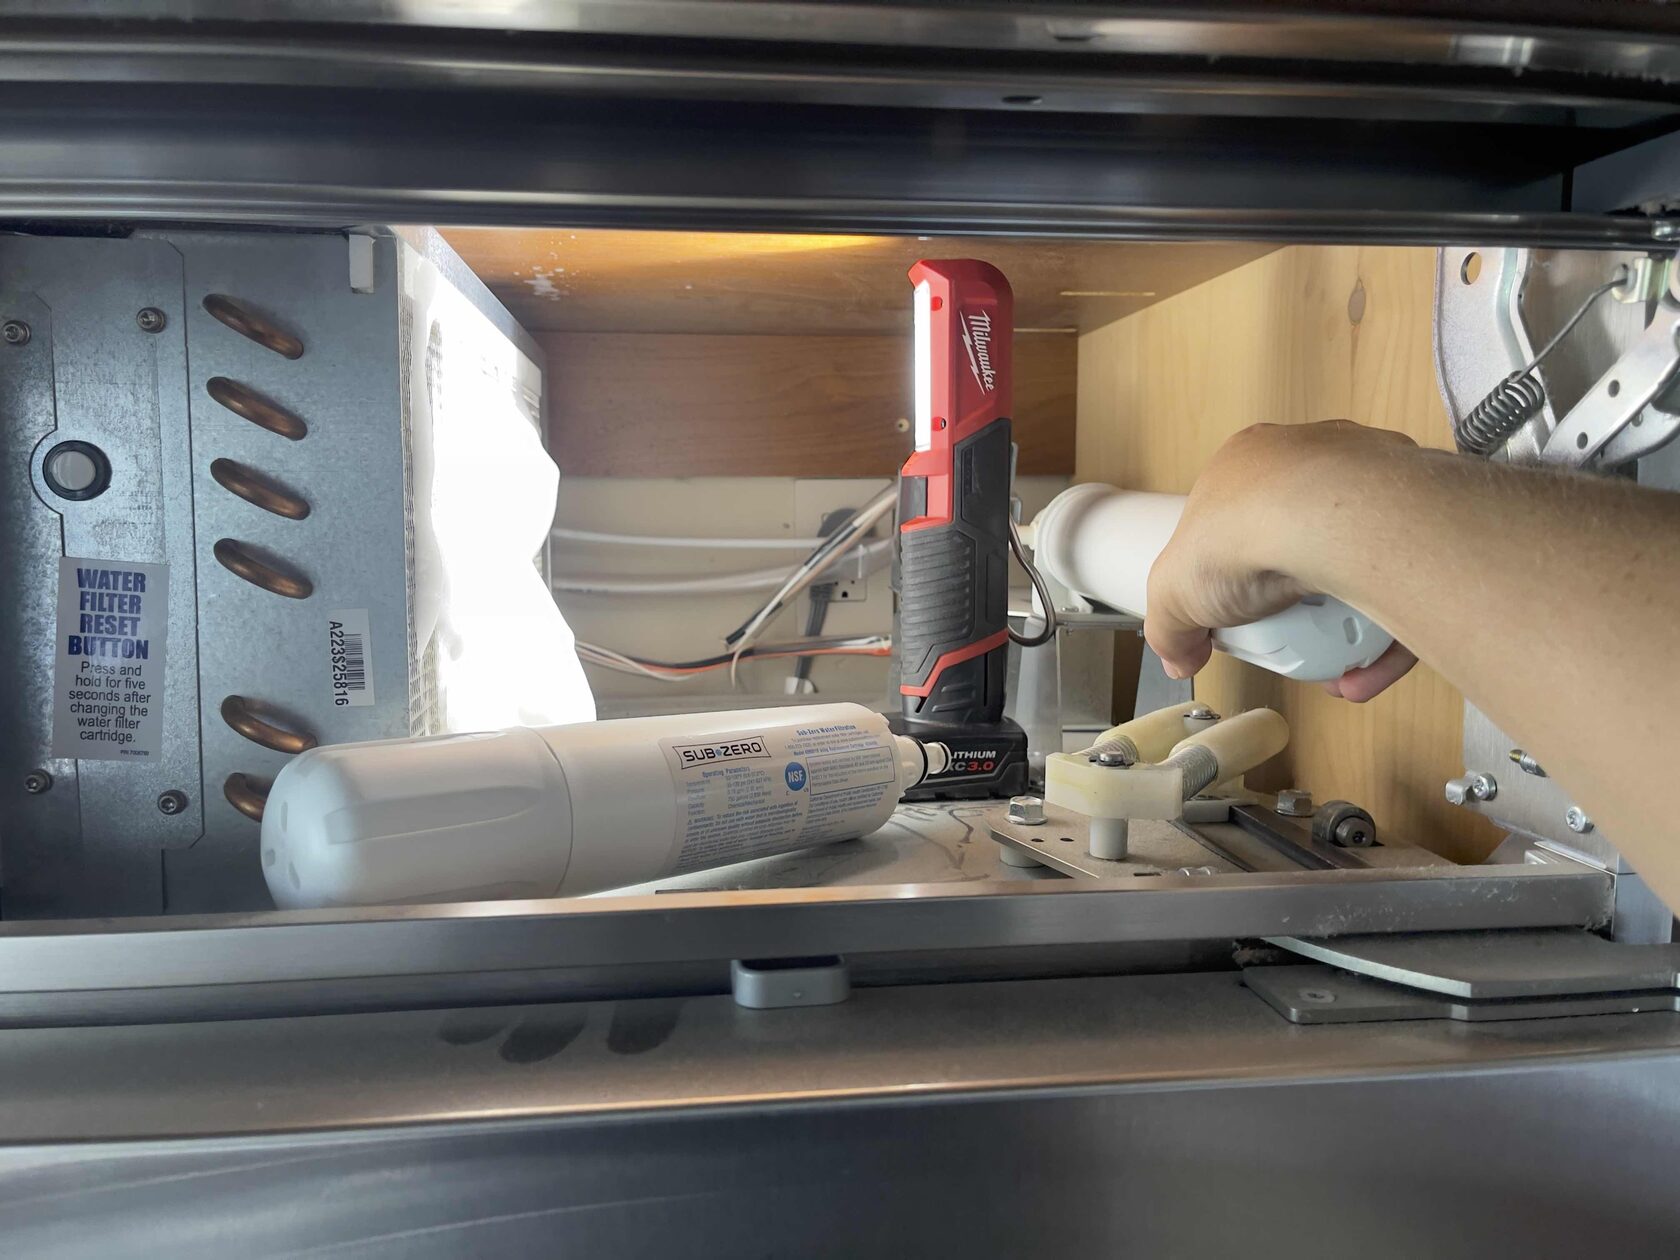
  • Locate the filter: Find the filter inside the refrigerator; it's typically in the upper right corner.
  • Remove the old filter: Turn the old filter counterclockwise to unlock it and pull it out. (some models require you to push on the filter to pull it out).
  • Insert the new filter: Take your new filter, remove any protective caps, and insert it into the slot. Twist to secure it in place.
  • Reset the filter indicator: Follow your model's instructions to reset the filter change indicator.
  • Replace every 6 months: Regular replacement will ensure the best water quality and flow rate.

Sub-Zero Classic Series - How To Replace the Water Filter

Buy Genuine Sub-Zero Refrigerator Water Filter 4204490
$
79
$
98
Checking Sub-Zero refrigerator door seals and gaskets

Detecting and Addressing Seal Wear

A crucial aspect of refrigerator maintenance is regularly checking the door seals (also known as gaskets). These seals are responsible for keeping the cold air inside and ensuring the refrigerator operates efficiently. Over time, seals can wear out or become damaged, which may lead to air leaks, moisture buildup, and potential mold growth, as shown in the first photo.

Importance of Clean Seals

The condition of the refrigerator seals can significantly affect the appliance's performance. Dirty or moldy seals, as seen in the images, can cause various issues, including:
  • Energy loss: Worn seals can let out the cold air, leading to higher energy consumption as the refrigerator works harder to maintain the temperature.
  • Moisture and mold: Seals with residue or mold can lead to unsanitary conditions and may contaminate the stored food.
Step-by-Step Seal Maintenance
  1. Regular Inspection: Check the seals periodically for any signs of wear, tear, or mold. Pay attention to discoloration or deformation, which might indicate a problem.
  2. Cleaning Process: Use a mild cleaning solution and a soft cloth to wipe down the seals, removing any grime or mold. For tougher mold spots, a specialized cleaning agent may be required to disinfect the area properly.
  3. Seal Replacement: The second photo shows new, clean gaskets ready to be installed. If the seals are beyond cleaning or if they're damaged, it's essential to replace them to restore the seal's integrity. The third photo demonstrates how a technician might go about replacing the seal to ensure a tight, secure fit.

In conclusion, maintaining the door seals of your Sub Zero refrigerator is vital to ensure it operates efficiently and safely. Regular inspections, cleaning, and timely replacement of the seals can prevent energy loss, protect your food from contamination, and extend the lifespan of your appliance. If you're unsure about the condition of your seals or how to replace them, it's best to consult with a professional technician who can provide expert advice and service.
Moisture and mold: Seals with residue or mold can lead to unsanitary conditions and may contaminate the stored food.
If the refrigerator sealing gaskets cannot be cleaned or are damaged, they must be replaced.
Our technician can replace the seal to ensure a tight and secure fit.
Defrosting Your Sub-Zero Freezer

When and Why to Defrost

Manual defrosting may be necessary if you notice frost buildup, which can occur even in frost-free models over time due to humidity and door openings.

How to Defrost Safely

  • Empty the freezer: Remove all food and store it in a cool place.
  • Turn off the freezer: Power down the freezer to start the defrosting process.
  • Catch the meltwater: Place towels or a container to catch the water from the melting ice.
  • Wipe down the interior: Once all the ice has melted, clean the interior with a mild cleaner.
  • Turn the freezer back on: Once clean and dry, restore power and return your food to the freezer.
Checking and Replacing Sub-Zero Light Bulbs

Recognizing the Need for Bulb Replacement:

1. Dim lighting or flickering lights may indicate bulb failure.
2. Inspect the filament for breaks or black spots on the bulb.

How to Replace Your Bulb:

1. Unplug the refrigerator for safety.
2. Unscrew the bulb counterclockwise.
3. Replace with a Sub-Zero Bulb Blue 7006999 Lamp.
4. Screw the new bulb in clockwise and plug the unit back in.

Frequency: As needed, when you notice a bulb has failed.

How to Replace a Light Bulb in Your Sub-Zero Refrigerator

Regular maintenance is key to the longevity and performance of your Sub Zero refrigerator. By following these steps, you can prevent common issues, save on energy costs, and enjoy the benefits of your appliance for many years. For professional assistance or if you're unsure about performing maintenance yourself, don't hesitate to contact our Sub-Zero expert technicians in Riverside County.

Keep your Sub-Zero refrigerator in top condition with regular maintenance. Schedule your service appointment today with our experienced team for professional care and peace of mind. Contact us for all your Sub-Zero maintenance needs in Riverside County, California.

Keep your Sub-Zero refrigerator in top condition.

Explore our extensive collection of expert Sub-Zero repair guides and service manuals.
How to Operate the Ice Maker in Sub-Zero Legacy Classic Series (BI)
Guide to Control the Ice Maker in Your Sub-Zero Legacy Classic Series (BI)
In-Depth Guide to Sub Zero Wine Cooler Compressor Replacement
Welcome to our detailed guide on replacing a compressor in your Sub Zero wine cooler. This article shares insights from our certified technicians on how to tackle this complex repair.
Sub-Zero Refrigerator Not Cooling: Expert Troubleshooting Guide
Step-by-Step Troubleshooting for Sub-Zero Refrigerator Cooling Problems
Sub-Zero Classic Series (BI and CL) Ice Maker Issues
Step-by-Step Guide to Troubleshoot Your BI and CL Series Ice Maker
Effective Solutions for Sub-Zero Refrigerator Ice Maker Issues
Common Causes of Ice Maker Malfunctions in Sub-Zero Refrigerators
Sub-Zero Refrigerator Troubleshooting Guide
Explore our extensive collection of expert Sub-Zero repair guides and service manuals. Whether you're troubleshooting a cooling issue or conducting regular maintenance, find all the information you need for your Sub-Zero appliances right here. Get reliable advice and step-by-step instructions to keep your Sub-Zero in top condition
Troubleshooting Sub-Zero Ice Maker Issues: Ice Blocks and Water Leaks
Having a Sub-Zero refrigerator means enjoying unparalleled quality and performance, especially when it comes to its ice maker. However, like any sophisticated appliance, issues may arise, such as ice blocks forming in the bin or water leaking from the ice maker. This guide explores common problems, their causes, and how to troubleshoot them efficiently.
Regular Maintenance for Sub-Zero Refrigerators
Begin by discussing why regular maintenance is essential for the longevity and efficiency of a Sub-Zero refrigerator. Mention the benefits of maintenance, such as energy savings, improved performance, and extended appliance life.
Made on
Tilda